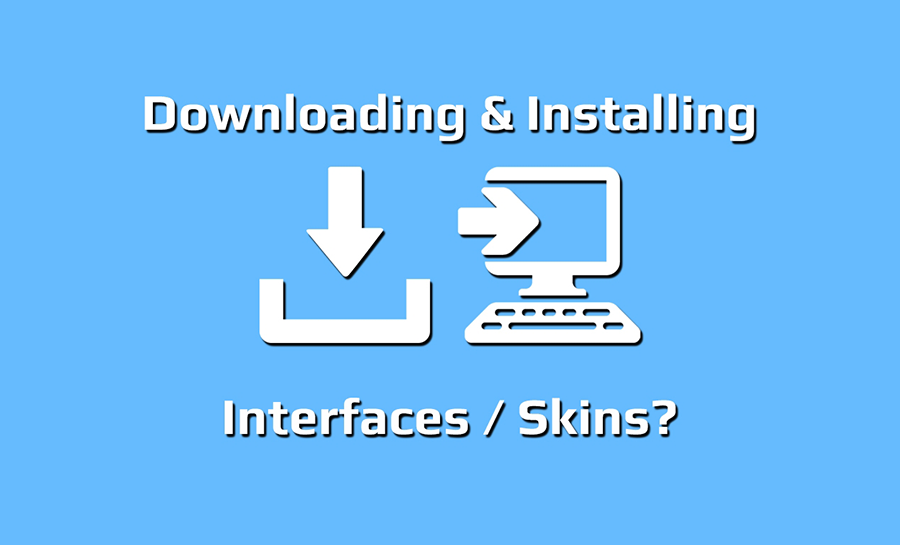
After you have puchased your new interface, you are going to want to download, and install it to your VirtualDJ software. So, once payment for your interface has been confirmed by PayPal, You can login to your account and head over to the downloads section of our website. This is where all your purchases can be found, and downloaded. Purchases can be downloaded upto 100 times.
Once in the downloads area, find the interface you wish to download and hit the download button, and save it to a memorable place on your computer. After the download is completed you will then need to place the (skinname).zip file into the correct folder on your computer for VirtualDJ to load it, simply copy the .zip file (do not extract) into the VirtualDJ skin folder, this will differ depending on the system you are using, MAC or a Windows based system, below you will find the different file paths for each system
PC
Older versions
C: \Users\{Username}\Documents\VirtualDJ\Skins
Newer versions
C: \Users\YourUserName\Documents\VirtualDJ\Skins
MAC
OS: /Users/{Username}/MyDocuments/VirtualDJ/Skins
Once the .zip file has been copied into the folder above, you can then load up VirtualDJ. When VirtualDJ has loaded, click on the config button to open up VirtualDJ configuration settings, then goto the Interface tab, located on the left of the window, scroll down until you find the interface you have just installed, and select it. Your new interface should now be displayed on your VirtualDJ software.